Roof install projects may seem daunting, but by breaking them down into manageable steps, you can achieve a resilient and aesthetically pleasing roof. Understanding the importance of a proper roof install is key: it boosts your home’s energy efficiency, enhances curb appeal, and offers vital protection against the elements.
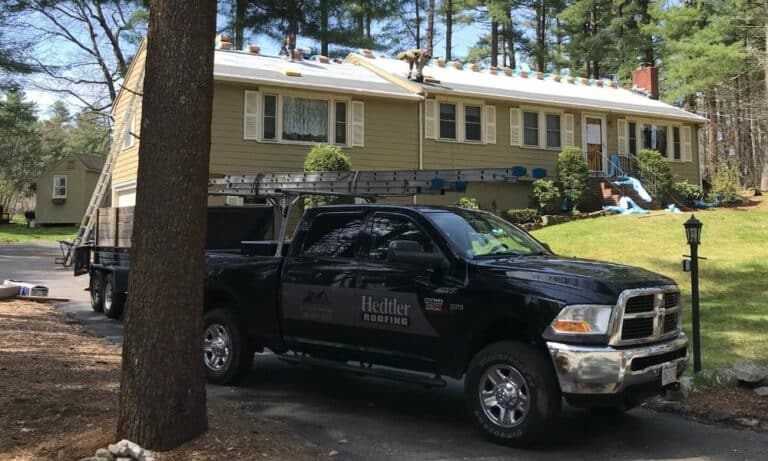
A safe and successful roof installation begins with thorough preparation. Make sure to handle safety gear and proper planning seriously.

Hello, I’m Jason Hedtler, owner of Roof Experts with over 20 years of industry experience. I’ve guided countless homeowners through the ins and outs of roof installs, always prioritizing safety and quality workmanship. Now, let’s dive into the essentials of choosing the right roofing materials.
Choosing the right materials for your roof install is crucial for durability, aesthetics, and overall performance. Let’s break down the essentials:
Asphalt shingles are the most popular roofing material in the U.S., and for good reasons. They are:

Metal roofing has gained popularity due to its longevity and energy efficiency. Key benefits include:

Tile roofing is known for its distinctive look and durability. Consider these points:
In regions with severe winters, like Massachusetts, an ice barrier is essential. It prevents water from seeping under the shingles and damaging the decking. This self-stick underlayment seals around nails and prevents leaks through nail holes.
Underlayment is a protective layer installed between the roof deck and the shingles. There are two main types:

By selecting the right materials, you ensure your roof can withstand the local climate and provide lasting protection for your home.
Next, we’ll discuss how to prepare for a successful roof installation.
Proper preparation is key to a successful roof install. Here are the essential steps to ensure everything goes smoothly.
Before starting, ensure your roof deck is clean and in good condition.
Timing your roof install to coincide with favorable weather conditions can make a significant difference.
Every area has specific building codes and regulations that must be followed.
Securing the necessary permits is crucial for legal and safe roof installation.
By thoroughly preparing your deck, considering the weather, adhering to local regulations, and securing the necessary permits, you set the stage for a smooth and successful roof installation.
Before starting your roof install, safety should be your top priority. Equip yourself with the right gear:
Always work with a partner. It’s safer and more efficient.
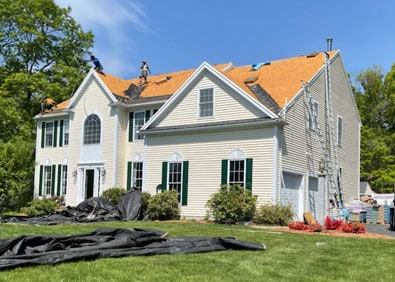
The first step is to tear off the old roof. Lay tarps on the ground to catch debris. Use a shingle fork or shovel to remove the old shingles.
Underlayment is crucial for protecting your roof deck from water damage. There are different types you can use:
Pro Tip: Work from the bottom up to ensure proper overlapping.
Proper shingle installation is key to a durable roof. Follow these steps:
Flashing prevents water from seeping into joints and valleys. Here’s how to do it right:
Pro Tip: Avoid silicone and asphalt-based sealants. They don’t hold up well in direct sunlight.
By following these steps, you ensure a robust and long-lasting roof install. Next, we’ll explore advanced roofing techniques and tips to further enhance your roofing project.
Proper ventilation is crucial for a long-lasting roof. Without it, your attic can trap heat and moisture, leading to mold and structural damage. Install vents at the ridge and eaves to ensure air flows freely. This helps regulate temperature and moisture levels, extending the life of your roof.
When cutting openings for vents, use a circular saw set just deeper than the decking thickness. Secure the vents with 1 1/4″ roofing nails and seal around the edges with roofing sealant.
A drip edge is essential for directing water away from the fascia and into the gutters. Install the drip edge along the eaves before laying underlayment. Use tin snips to cut it to length, and fasten it with roofing nails every 2 feet.
Pro Tip: Leave a gap of about 1/2 inch between the deck edge and the start of the drip edge to prevent water from running down the fascia board.
The ridge cap is the finishing touch on your roof install. It covers the peak and prevents water from seeping in. Use ridge cap shingles, which are specifically designed for this purpose. Start at the edge opposite the prevailing wind direction for better wind resistance.
Nail each ridge cap shingle in place, ensuring the nails penetrate both the ridge cap and the underlying shingles. Apply roofing sealant to the exposed nail heads for a waterproof seal.
Valleys are where two roof planes meet and are prone to leaks. You can choose between open and closed valleys:
Pro Tip: For Massachusetts homes, open valleys are generally more durable due to the region’s heavy snowfall and rain.
While you can install a roof yourself, it’s not recommended.
Roof installation is a massive undertaking that requires skill, precision, and safety measures. Professionals can usually complete the job in a day or two, while a DIY project could take much longer. Moreover, the risk of accidents is high without proper training and equipment.
Hiring a professional ensures the job is done right and safely. Plus, your homeowner’s insurance may only cover issues with the roof if installed by a licensed contractor.
The duration of a roof installation depends on several factors, including the size and complexity of the roof.
For a home up to 3,000 square feet, professionals can typically complete the job in one day. However, challenges like weather conditions or intricate roof designs can extend the project to three to five days.
The ideal time for a roof install in Massachusetts is during fall. The weather is generally consistent, and temperatures are perfect for outdoor work.
Spring is also a good time, but avoid the rainy season. Summer can be too hot, making the working conditions tough, while winter poses challenges like snow and ice, which can delay the project and complicate the installation process.
By choosing the right season, you can ensure a smoother and quicker roof installation.
A well-executed roof install is crucial for the longevity and durability of your home. By following our detailed guide, homeowners in Massachusetts can ensure their new roof will stand the test of time and enhance their home’s curb appeal.
The lifespan of your roof depends heavily on the materials used and the quality of the installation. For instance, asphalt shingles are popular because they can last up to 20-30 years when properly installed and maintained. Tile roofs can last even longer, often over 50 years, but they require a more meticulous installation process. Regular inspections and prompt repairs are key to extending your roof’s life.
Routine maintenance is essential for keeping your roof in top condition. This includes:
By staying on top of maintenance, you can prevent costly repairs and extend the life of your roof.
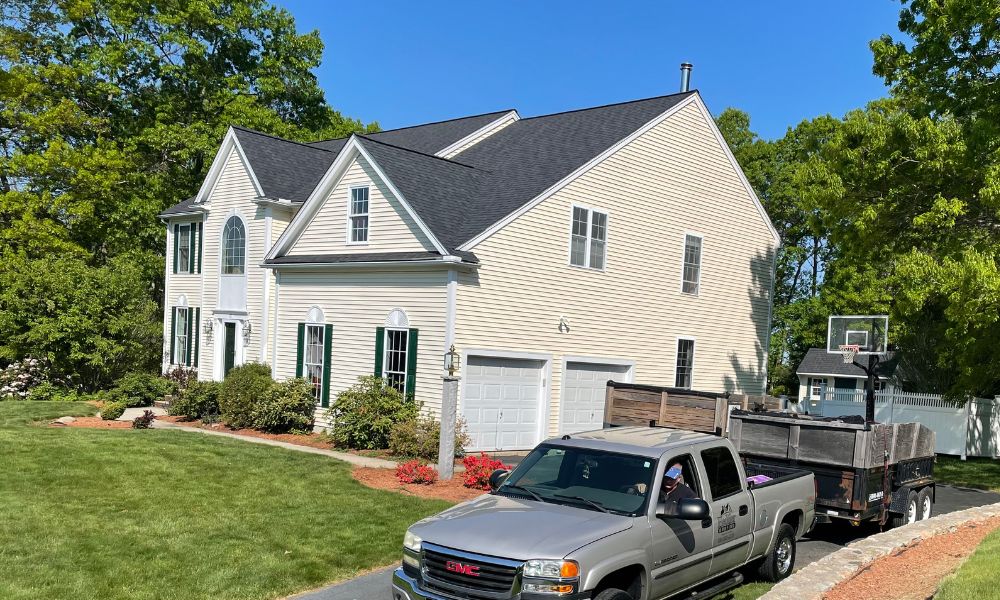
At Roof Experts, we specialize in providing top-notch roofing services to homeowners in Massachusetts. With over 20 years of experience, our team is committed to delivering high-quality workmanship and exceptional customer service. Whether you need a new roof installation, a replacement, or repairs, you can trust us to handle all your roofing needs.
Contact us today to schedule a consultation and experience why we’re the premier choice for roofing services in Massachusetts.
By following this detailed guide, homeowners in Massachusetts can ensure a high-quality roof installation that offers durability and enhances their home’s curb appeal. A well-installed roof is an investment in your home’s future. Trust the experts at Roof Experts to get the job done right.
Roof Installations

Roof Replacements

Roof Repairs